Pumpkin Granola
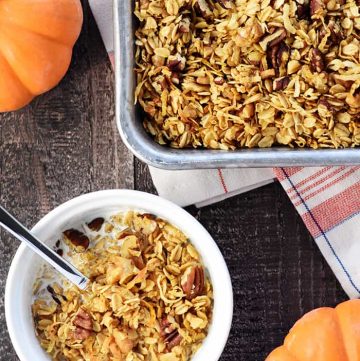
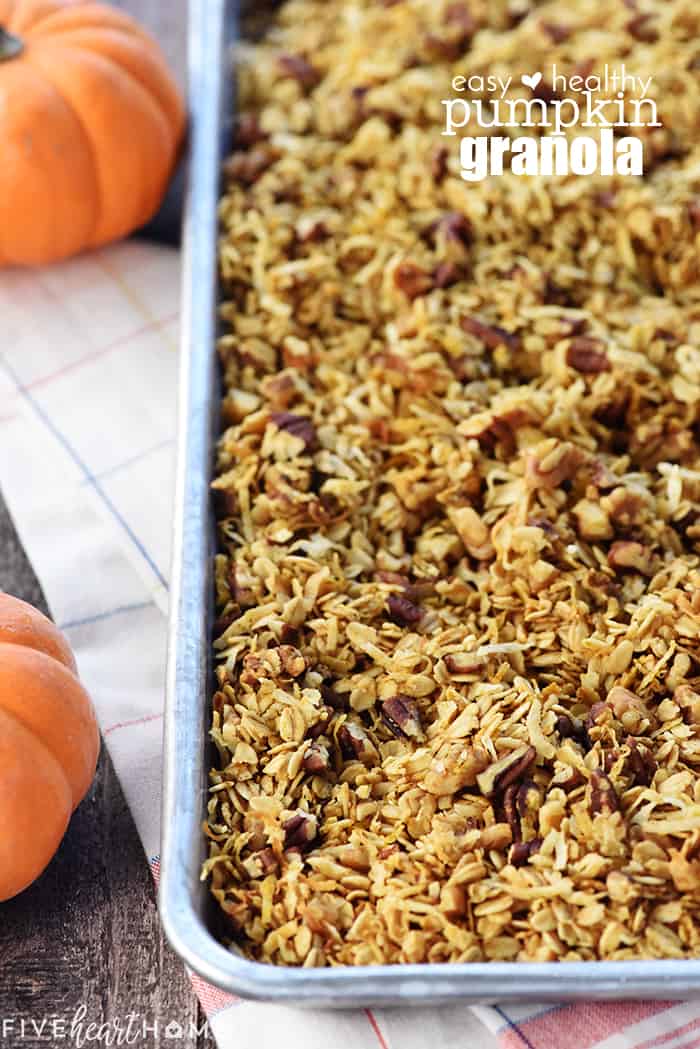
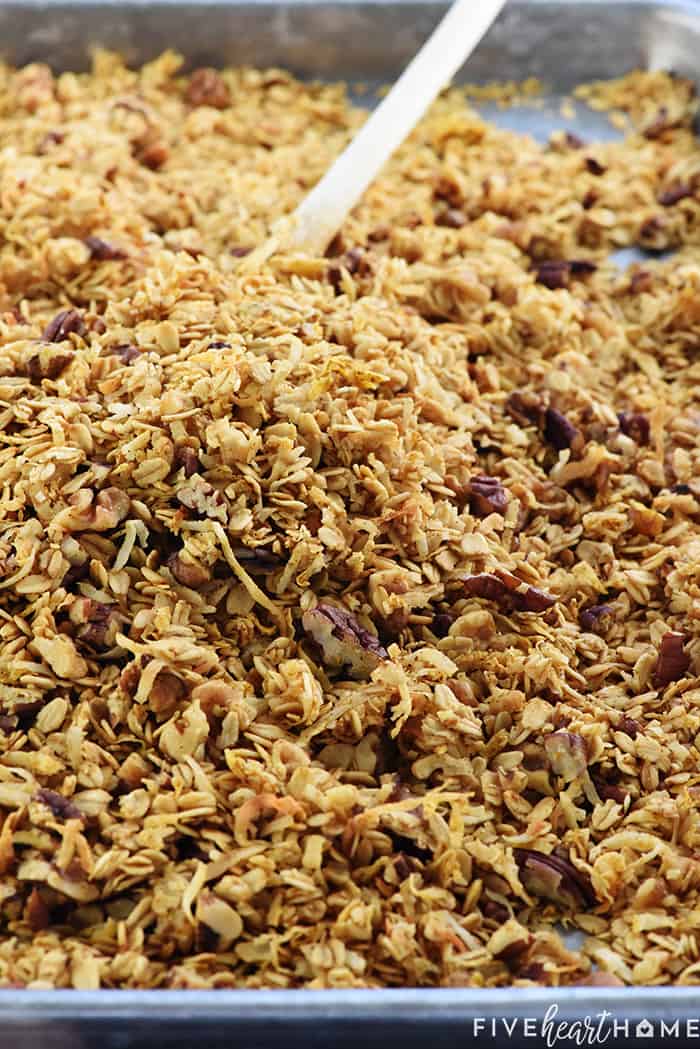
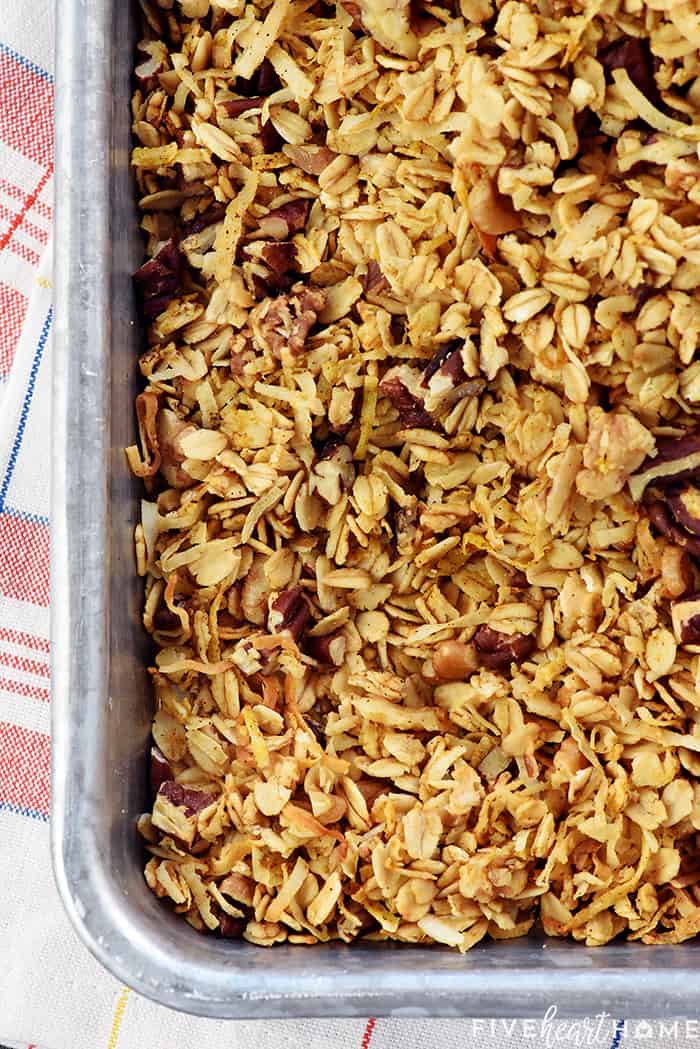
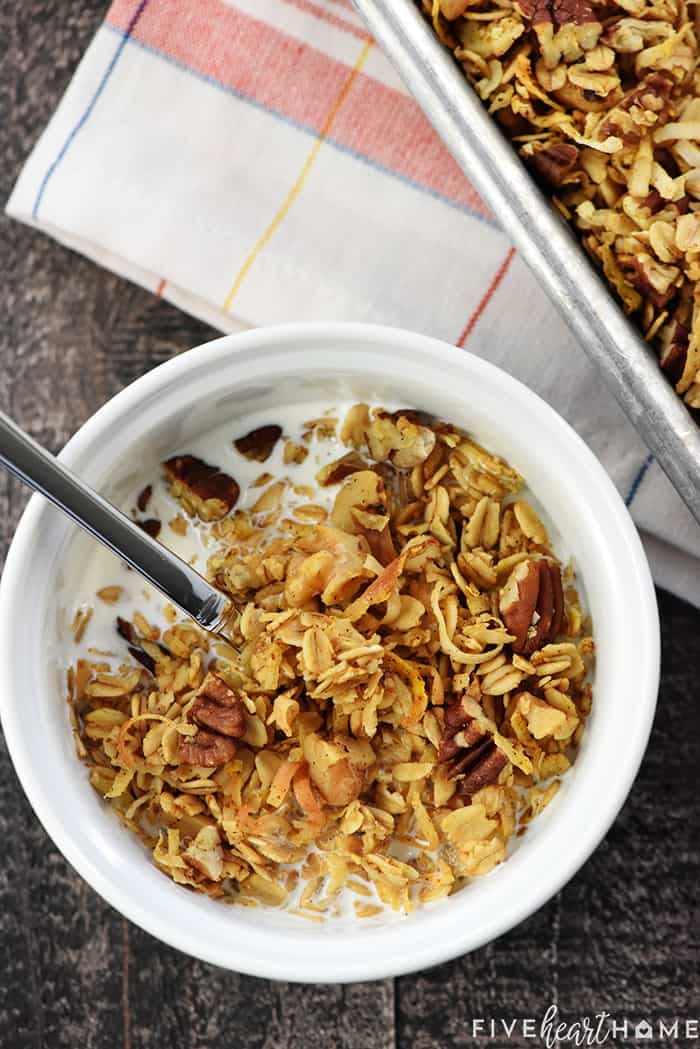
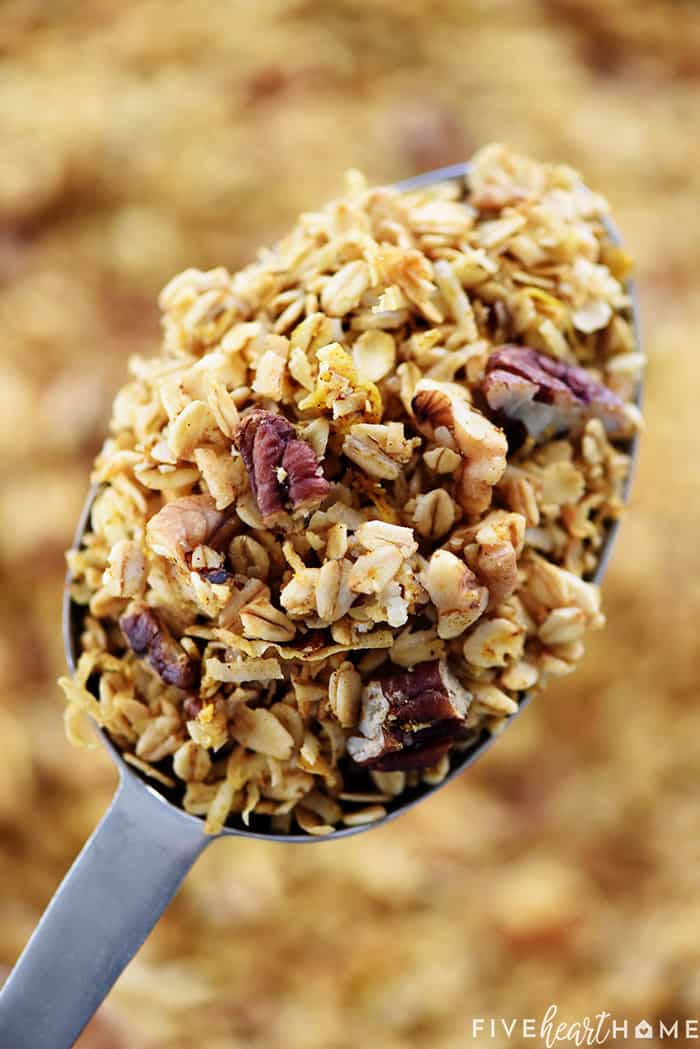
Pumpkin Granola is crunchy, golden, and easy to make, loaded with wholesome oats, toasty nuts, real pumpkin puree, coconut oil, maple syrup, & warm fall spices!
I know, I know...a few weeks ago, I promised y'all I was done sharing new pumpkin recipes this fall. But apparently I just can't help myself!? I made this Pumpkin Granola on a whim last week and, dangit, it's just too good not to post. Not to worry, though. I'm currently up to my eyeballs testing Thanksgiving sides and holiday treats, and those are coming your way next!
In the meantime, what say we chat about this crunchy, golden, scrumptious Pumpkin Granola?! My kids recently requested a batch of homemade granola, so I started perusing my archive of granola recipes in an effort to decide which variety to bake. And then I came across a jar of Homemade Pumpkin Puree in the fridge and pondered why I'd never added it to granola before...
I bet you can see where this is going. And the results were even better than I had hoped!
Classic Granola...with a Pumpkin Twist!
Any time I concoct a new flavor of granola, I always start with my same tried-and-true base recipe. So clearly, that's what I did for this Pumpkin Granola as well! Here are the simple changes that made all of the difference:
- I substituted pumpkin puree for some of the coconut oil.
- I swapped maple syrup for the honey.
- I decided upon hearty pecans and walnuts for my nuts.
- I added plenty of pumpkin pie spice and a smidge of salt.
How to Make It
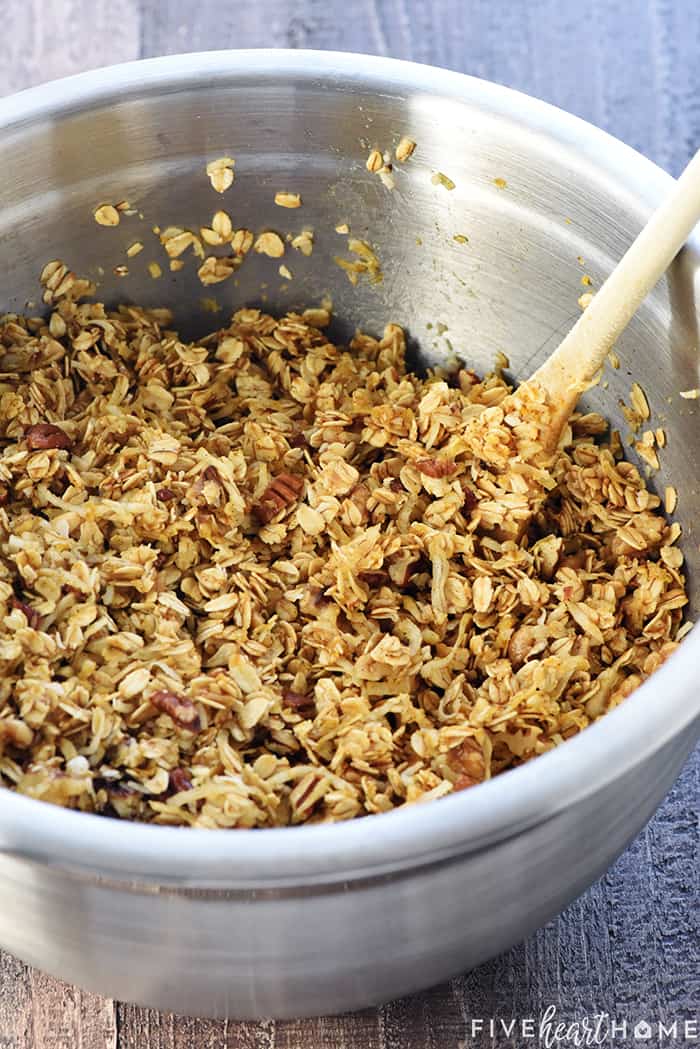
I basically combined the oats, coconut, and nuts in a big bowl and whisked together the melted coconut oil, pumpkin, and spices in a measuring cup.
Then I poured the liquid ingredients over the dry ingredients and carefully stirred everything together.
Finally, I drizzled the maple syrup over the top and mixed until all of the ingredients were evenly coated.
Easy-peasy!
Cooking Time
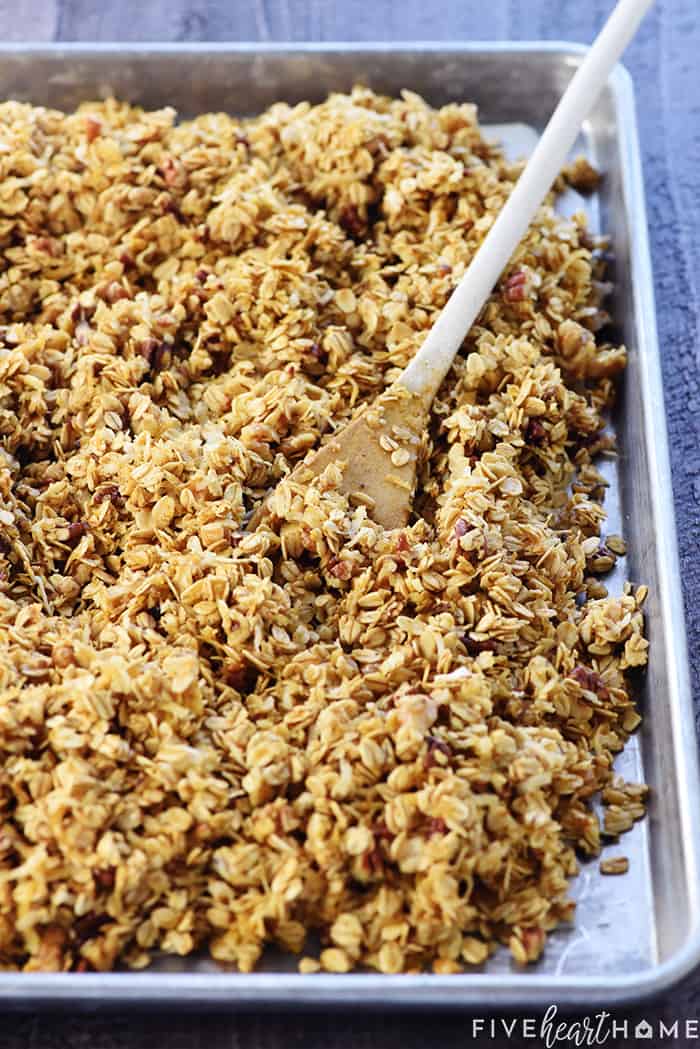
I always bake my granola at 350°F, stirring and turning the granola every ten minutes. I have learned to watch the granola carefully during those last ten minutes, however, as it can quickly go from perfect to charred. Definitely keep a close eye on your homemade granola the first time you make it so that you can determine how long it takes in your particular oven.
In retrospect, I probably should have baked this pan of Pumpkin Granola for a couple minutes longer to get it to my preferred level of golden crunchiness. But alas, it was finishing up just as it was time to pick up my kids from school. And they have this crazy expectation that I should, you know, be on time and not leave them standing there as the last ones waiting with their teachers. So as soon as the granola hit 30 minutes, I pulled it from the oven and -- like a good Mama -- flew out the door.
But despite being a slightly lighter shade of golden than I usually bake my granola, this pan of Pumpkin Granola was still delicious! All three kiddos requested it as an after-school snack...after I was finished taking pictures of it, of course! This food blogger has trained them well.
And so ends "2018 Pumpkin Recipe Season" at Five Heart Home (*sniff*)! Scout's honor this time, y'all.
But switching gears, which Thanksgiving and holiday recipes would y'all like to see over the next few weeks? Any special requests??? Do tell. Because there's a pumpkin-shaped hole in my heart that can only be filled by you.
Helpful Tips, Tricks, & Equipment
- I bake my granola on a large rimmed half sheet pan.
- Homemade granola goes so quickly at our house that I often make a double batch. To do so, I double all of the ingredients and then divide the unbaked granola between two of the aforementioned rimmed sheet pans. I move the oven racks to just above and just below the center rack position. And then every ten minutes, when I take out the granola to stir it, I switch (from bottom to top and top to bottom) and rotate the pans when I put them back in the oven. Baking a double batch often takes closer to 40 minutes than a single batch's 30 minutes...so as always, watch closely the first time you make it.
- Similarly, if you decide to cut the recipe in half, be prepared for it to take less total time to bake.
- By melting the coconut oil in a measuring cup and then later using that same measuring cup for the maple syrup, the residue of the oil will help the maple syrup slide out of the cup without sticking.
- You may use melted butter or a mild-flavored extra-virgin olive oil in place of the coconut oil, if you wish.
- You may use honey or agave in place of the maple syrup, but keep in mind that these alternatives will give the granola a slightly different taste.
- Make sure your nuts are raw since they will get toasted as the granola bakes.
- Feel free to swap out some of the chopped nuts for pumpkin seeds (pepitas).
- For extra nutrition, stir in a few tablespoons of chia seeds or flax seeds.
- Since homemade granola tends to stick to the pan if not stirred very frequently during the cooling process, I've found that using a Silpat or some parchment paper on the bottom of your sheet pan alleviates this problem (you just have to stir carefully to make sure the granola doesn't wind up stuck under the parchment paper).
More Granola Goodness
- 5-Ingredient Peanut Butter Granola
- Gingerbread Granola
- Slow Cooker Granola
- Oats & Honey Granola Bars
Pumpkin Granola
Ingredients
- 4 cups old-fashioned rolled oats
- 2 cups shredded coconut
- 1 cup raw pecans, chopped
- 1 cup raw almonds, chopped
- ⅓ cup coconut oil, melted and cooled
- ½ cup Homemade Pumpkin Puree, or canned pumpkin puree
- 2 teaspoons pumpkin pie spice
- ¼ teaspoon salt
- ½ cup maple syrup
Instructions
- Position rack in center of oven and preheat oven to 350°F.
- In a large bowl, combine the oats, coconut, pecans, and walnuts. In a measuring cup or small bowl, whisk together the melted coconut oil, pumpkin puree, pumpkin pie spice, and salt. Drizzle the oil/pumpkin mixture over the dry ingredients in the bowl and stir well to combine. Drizzle the maple syrup on top and mix until all ingredients are evenly coated.
- Transfer the granola onto a 13"x18"x1" rimmed half sheet pan and spread into an even layer. Bake, stirring and flipping with a wooden spoon every 10 minutes, until the mixture turns a nice, even, golden brown, about 30 minutes total. Watch carefully for the last 10 minutes of baking time, checking every few minutes and stirring as necessary to prevent over-browning.
- Remove the granola from the oven and stir frequently as it cools, scraping the bottom of the pan to prevent sticking. Once completely cool, store in an airtight container.
Equipment Needed
Notes
- TO MAKE A DOUBLE BATCH, double all of the ingredients and then divide the unbaked granola between two rimmed sheet pans. Move the oven racks to just above and just below the center rack position. And then every ten minutes, when taking out the granola to stir it, switch (from bottom to top and top to bottom) and rotate the pans when putting them back in the oven. Baking a double batch often takes closer to 40 minutes than a single batch's 30 minutes...so as always, watch closely the first time you make it.
- Similarly, if you decide TO CUT THE RECIPE IN HALF, be prepared for it to take less total time to bake.
- Make sure your nuts are raw since they will get toasted as the granola bakes.
- You may substitute melted butter or a mild-flavored extra-virgin olive oil in place of the coconut oil.
- You may substitute honey or agave for the maple syrup, but keep in mind that these alternatives will give the granola a slightly different taste.
- You may substitute pumpkin seeds (pepitas) for some or all of the chopped nuts.
- Since homemade granola tends to stick to the pan if not stirred very frequently during the cooling process, I've found that using a Silpat or some parchment paper on the bottom of your sheet pan alleviates this problem. You just have to stir carefully to make sure the granola doesn't wind up stuck under the parchment paper.


Samantha...I notice that you use 'shredded' coconut for the pumpkin granola. I searched for and purchased 'shredded' but it seems so fine. I wondered if you intended to specify 'flaked'? I'm making some for neighbors and want to be sure to use the correct ingredients! I'm sure either will be fine...but thought the flaked might 'show up' better and maybe add more texture. Thanks for any input!
Hi Harriet! I buy different brands of coconut -- sometimes thin shreds and sometimes bigger flakes, and the same name can mean different things across different brands -- ha. This granola is pretty forgiving whichever type you use, but I wouldn't recommend the teeny-tiny little shreds that I think you're talking about. If the pieces are too small, they're more likely to over-brown. Plus, like you mentioned, bigger flakes definitely add more texture! So go with whatever seems "right." For reference, I sometimes make granola with coconut pieces the size of "Let's Do Organics Coconut Flakes" (large pieces) or "Baker's Angel Flake Coconut" (small pieces)...but any smaller than that is probably too small. Hope that helps! 🙂