Halloween Oreo Pops
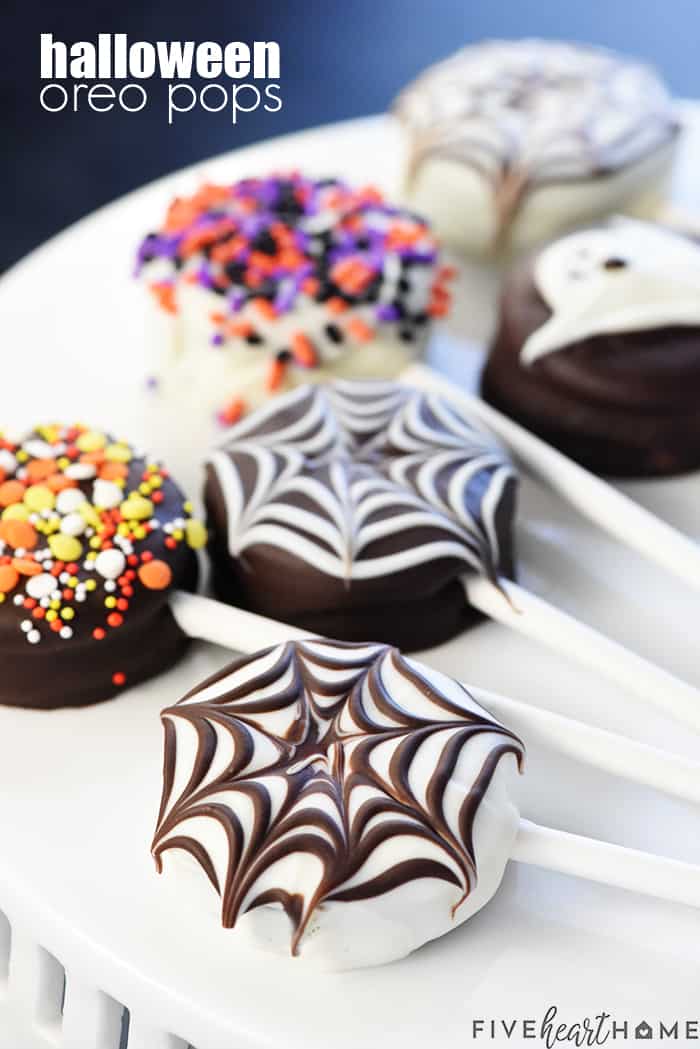
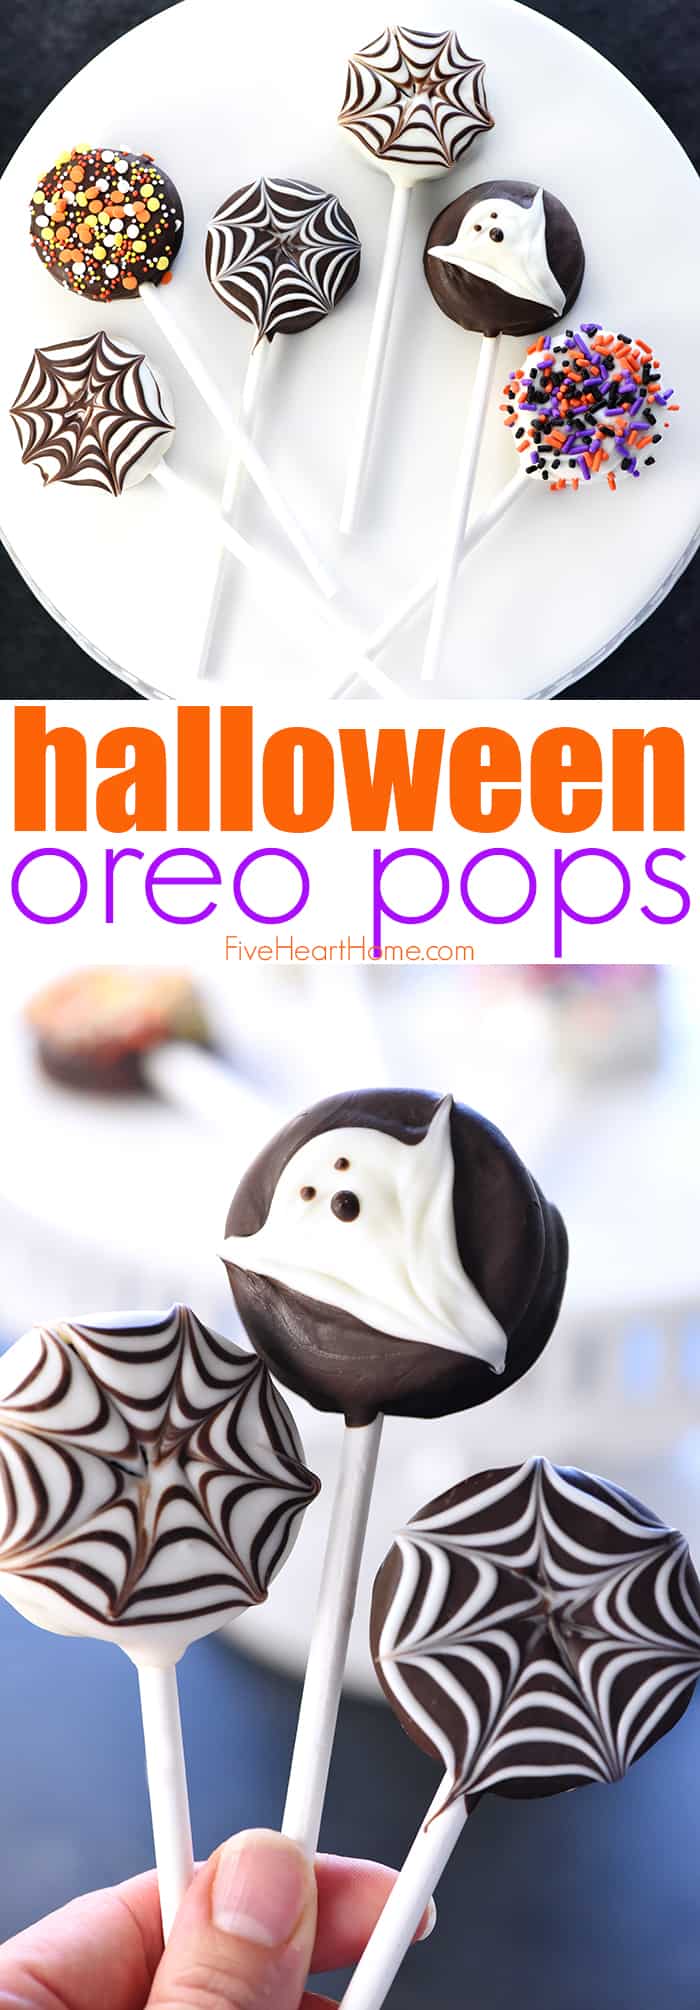
Halloween Oreo Pops are cute, yummy, and fun to make with the kids, featuring spiderwebs, ghosts, and (of course!) colorful sprinkles!
WANT TO SAVE THIS RECIPE?
Y'all ready for Halloween? October is already FLYING by and it's going to be here before we know it.
Since we're in a rental house in a new city this year, I'm not yet sure what trick-or-treating is going to look like in this neighborhood. But what I do know is that we're going to make the most of the holiday! The kids found the box of Halloween decorations in the garage last weekend and "decorated" the house themselves. It looks as good as you think it does. And we already made a batch of Halloween Oreo pops last week, which the young'uns were even more excited about than the decorations!
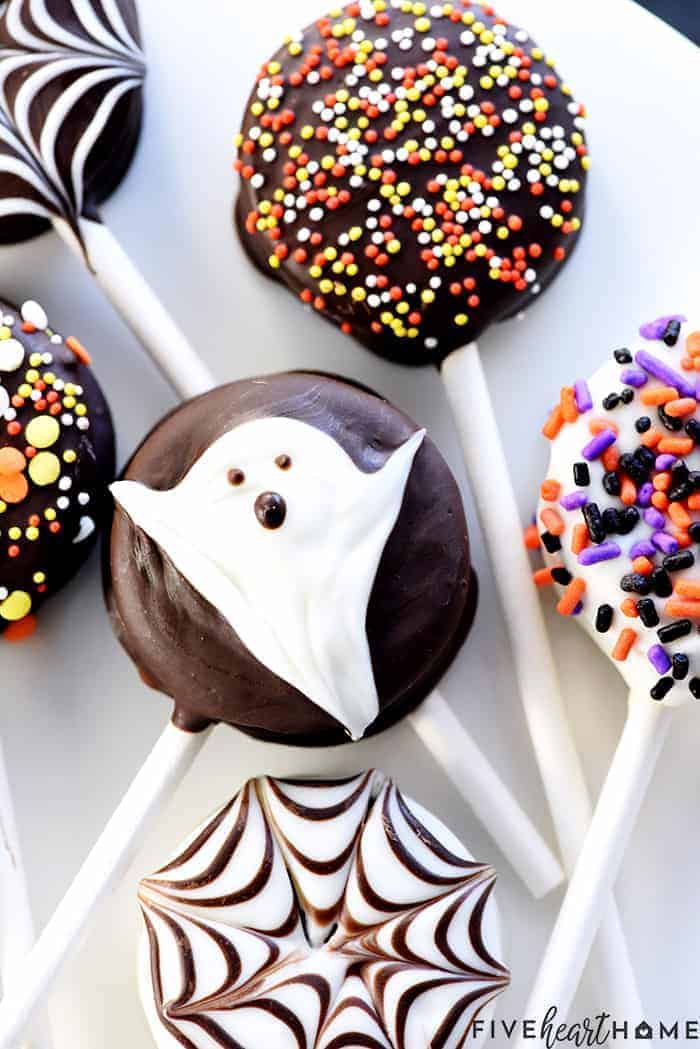
I admittedly love Oreos, but I don't often buy them. The exception is for holidays, when we like to dip them and decorate them to our heart's content. In years past, we actually made some cute Halloween Cookie Pop bats and mummies out of Nutter Butters. But I decided that round Oreos would be the perfect canvas for this year's spiderwebs and ghosts!
The first step to any good Oreo pop is to secure the lollipop stick with a dab of melted candy coating. I opened my sandwich cookies, laid them out on a baking sheet, then quickly dipped each stick and gently pressed it between the cookie halves.
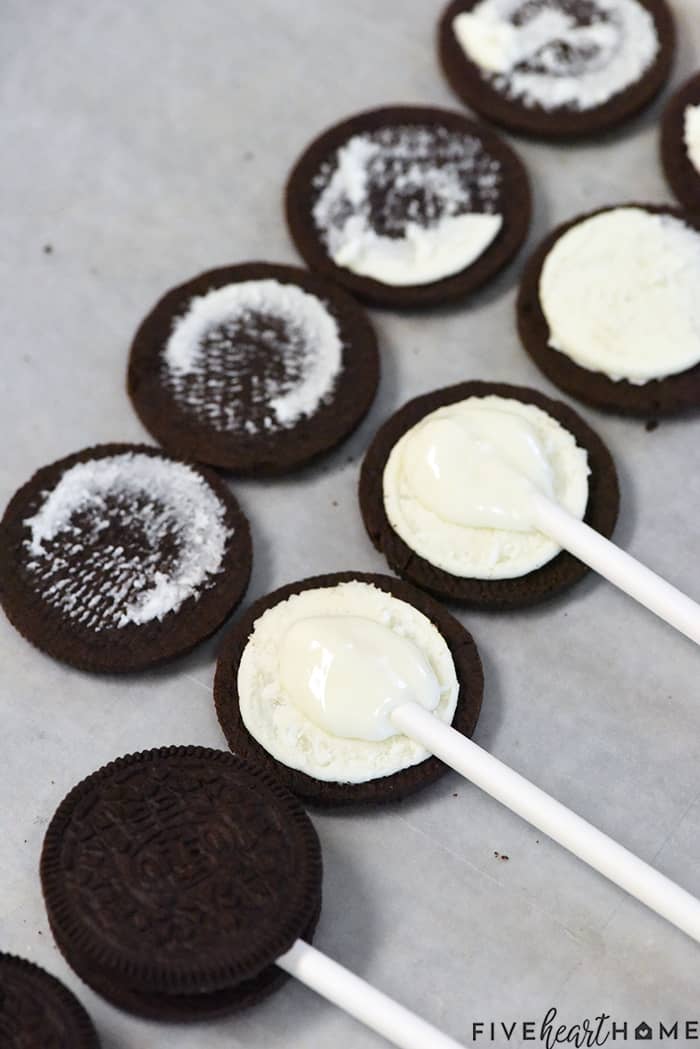
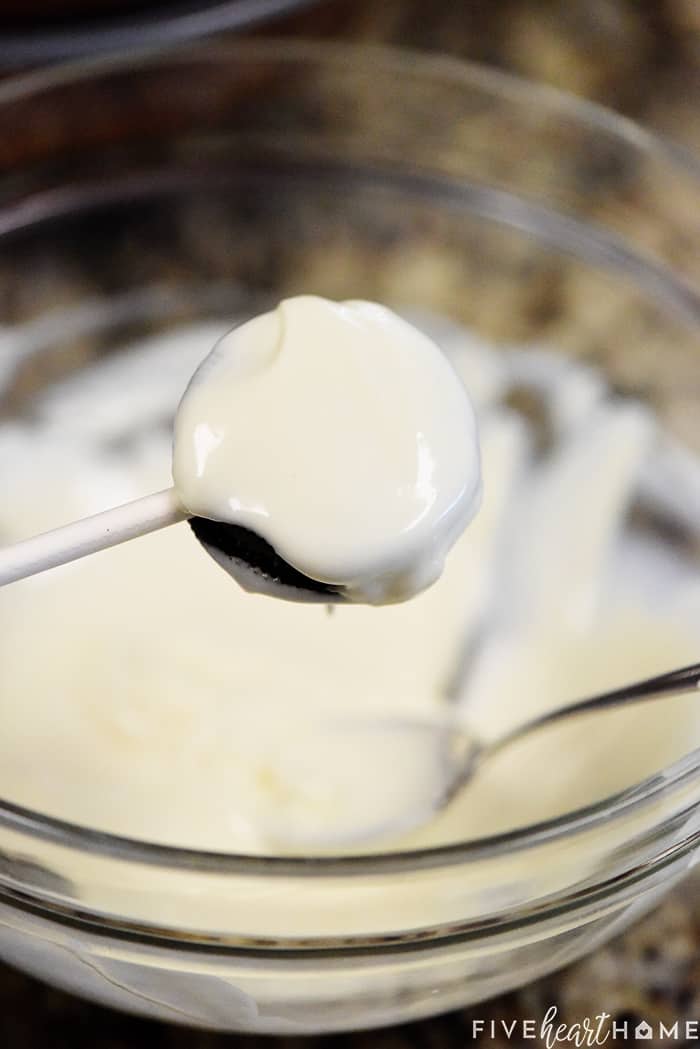
It's important that the sticks are completely set and the cookie pops are nice and sturdy before you coat them with candy coating. But don't dip them or they might fall apart anyway! Simply use the stick to hold each cookie over the bowl and use a spoon to drizzle and coat the cookie on all sides and down the center, turning the Oreo as necessary. Once it's evenly coated, scrape the excess candy coating off of one side, and lay that side down on a wax paper-lined cookie sheet to dry.
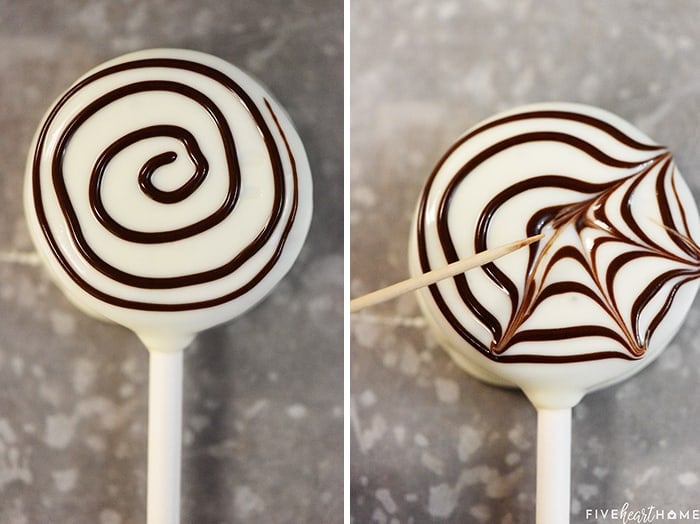
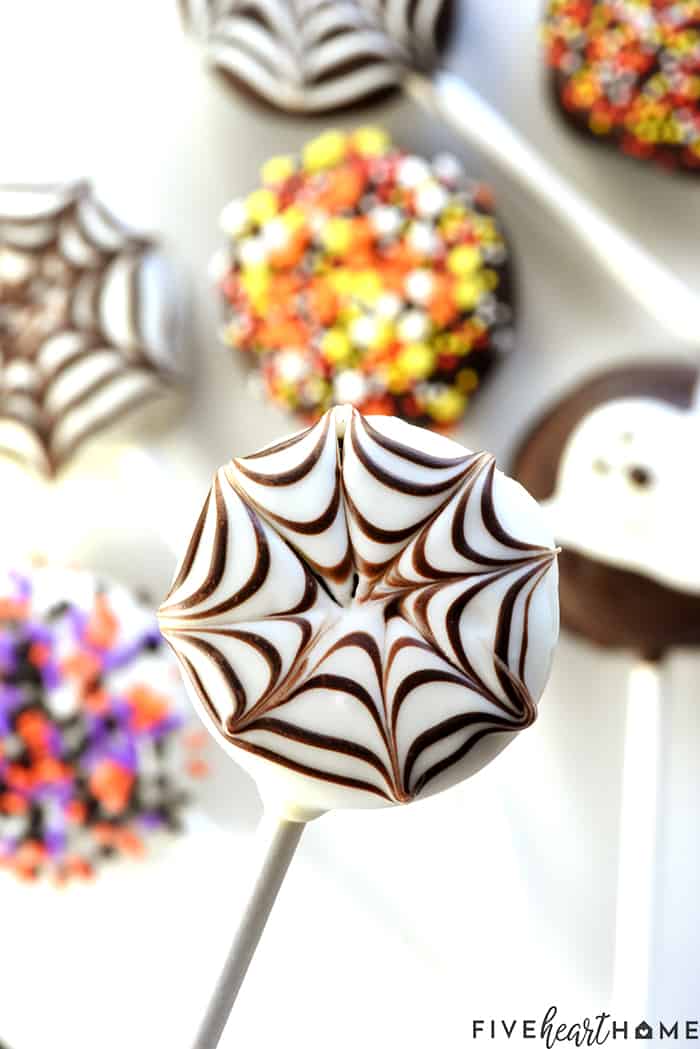
I'm sure y'all know the ol' spiderweb trick already, but my kids were SO IMPRESSED. I did the swirl (piping some candy coating out of a plastic baggie with a teensy hole cut in the corner) and let my kiddos take turns dragging the toothpick to create the webs. (And don't worry about the strings of candy coating extending out from the cookie...those will easily break off once the cookie is dry!)
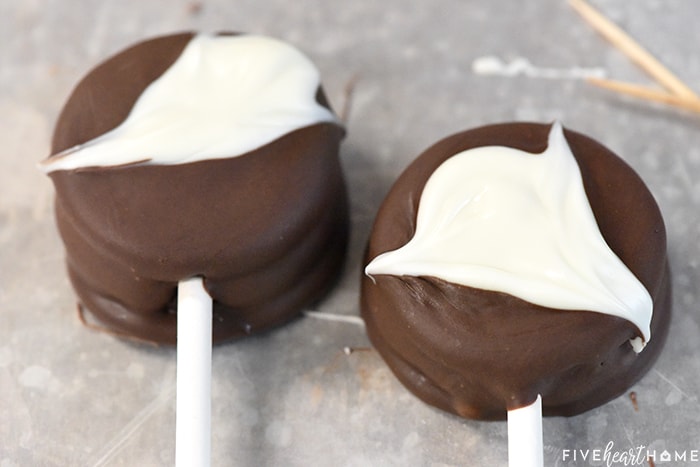
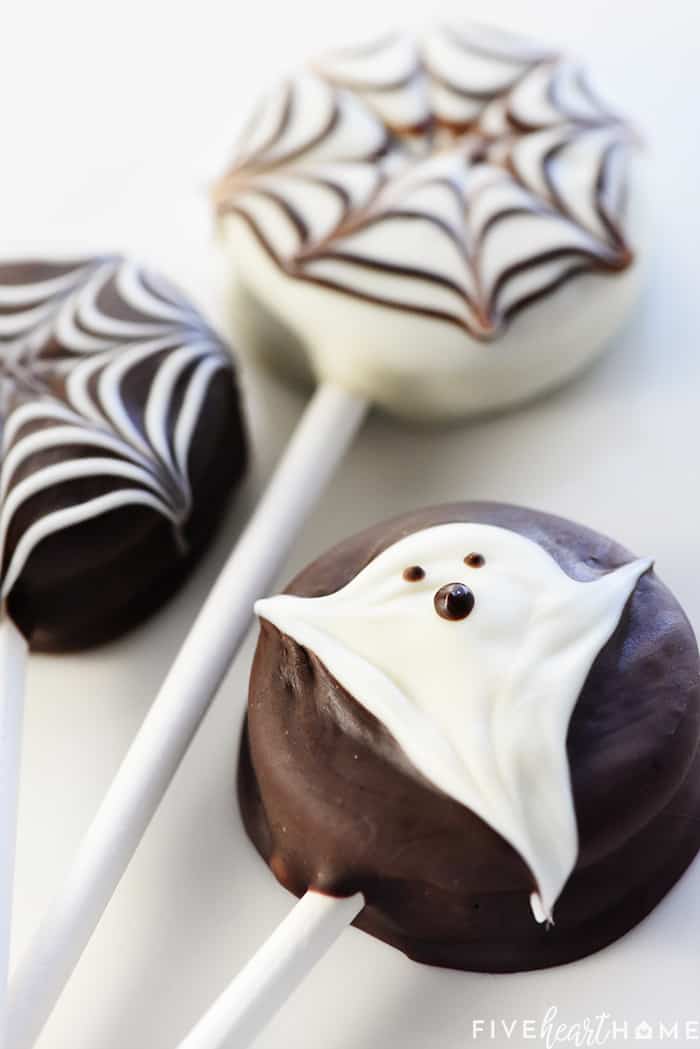
For the ghosts, I used a spoon to put a blob of white candy coating on top of a freshly chocolate-dipped Oreo. Then I used a toothpick (or a slightly larger pointy object, if necessary) to "pull" the white blob into a ghost's tail and arms.
Once the cookie was dry, I piped two tiny eyes and a slightly larger open mouth with chocolate candy coating.

The key to creating nice spiderwebs and ghosts is to work quickly! The candy coating will thicken as it cools. So I worked with one color at a time. For example, I dipped each of my white-coated Oreos and immediately made a spiderweb on top before moving to the next pop. Then I coated cookies with chocolate coating to make the ghost pops. I learned that if there's a delay in decorating the cookies, the candy coating will not be thin and smooth enough to make "pretty" spiderwebs.
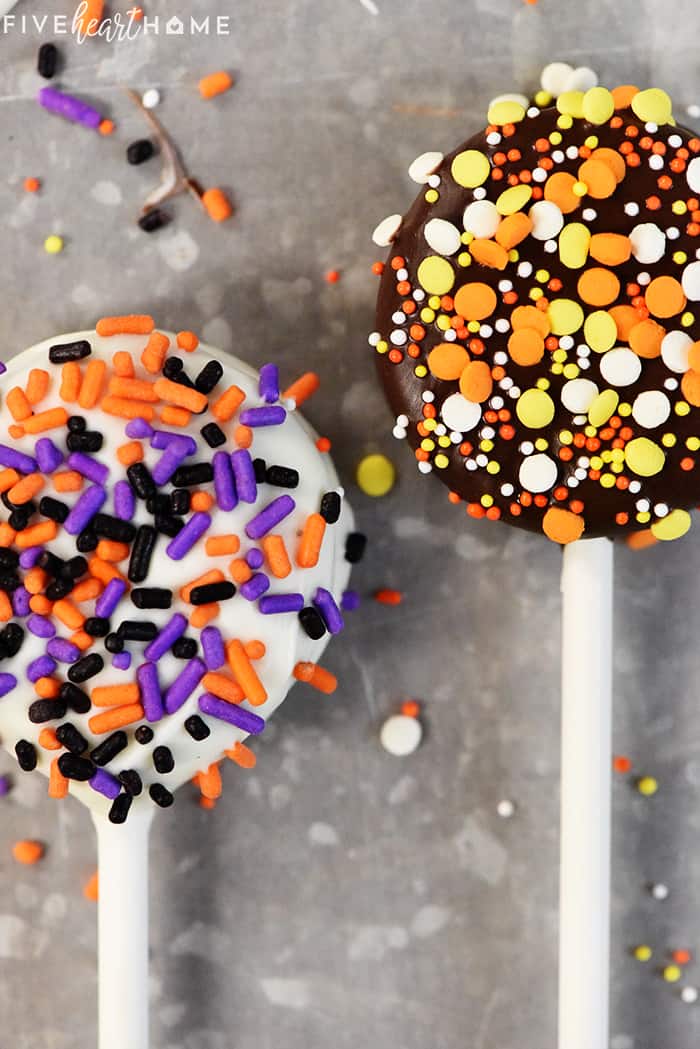
Once we got tired of making spiderwebs and ghosts (and once the coating cooled beyond the point of reheating and became difficult to work with), we decorated the rest of our cookie pops with cute Halloween sprinkles. Because a splash of color always makes things more fun...and who's going to argue with festive sprinkles?!
These Halloween Oreo Pops turned out so cute (and were so easy to put together) that we decided to make another batch for the Cake Walk at our school's Fall Festival this past weekend. And y'all, they looked so inviting all packaged up in a pretty box. I have no doubt they were snatched up in a flash (my own kids were actually hoping to win them -- ha)!
So are you ready for Halloween at your house? Do you have any special traditions for celebrating the big day? And if you have kids, what are they going to dress up as this year? Whatever your Hallow's Eve festivities entail, I hope these Halloween Oreo Pops will make them even brighter.?
Helpful Tips, Tricks, & Equipment
- You can find lollipop sticks online or at your favorite craft store. I recommend 6-inch sticks as opposed to really long sticks.
- While you can certainly make cookie pops like these by melting chocolate chips and stirring in a spoonful of vegetable shortening, I find it easiest to use good quality candy melts or candy coating instead. One total pound of candy coating (using half white and half chocolate) should be enough to dip and decorate about 18-20 Oreo pops.
- Follow the package directions for melting your candy coating and be careful not to overheat it (or it will be harder to work with).
- If you are making both spiderweb and ghost cookie pops, make one variety at a time.
- You can also choose to make chocolate dipped cookies with white webs on top.
- If you'd like to double this recipe, I recommend working in batches. Don't melt more than 8 ounces of candy coating at a time. Otherwise, it's very likely that the coating will thicken and be difficult to work with before you can finish making all of your Oreo pops.
More Halloween Treats

Halloween Oreo Pops
Ingredients
- About 2 dozen Oreos, which includes extras to allow for breakage
- 8 ounces milk chocolate candy coating OR melts
- 8 ounces white candy coating OR melts
- 20 lollipop sticks
- 2 or 3 zip-top sandwich baggies
- Toothpicks
- Sprinkles, optional
Instructions
- First, melt a small amount of candy coating (of either color) according to package directions. Dip the end of each lollipop stick into the coating, and assemble each cookie pop by opening an Oreo, pressing the candy coated stick into the filling on one half, and gently pressing the other half of the cookie back on top. Allow to set.
- For the spiderweb pops, melt most of the white candy coating (in a bowl) and a small amount of chocolate coating, which should be transferred to a small plastic bag. Cut a tiny hole in one corner of the bag and set it aside. Hold a cookie pop over the bowl of melted white coating and drizzle/coat with a spoon, wiping the excess off the back of the cookie.
- Set the pop on a wax paper-lined cookie sheet and immediately make a spiderweb by piping a thin line from the bag of chocolate coating in a spiral, from the center of the cookie outward. Then take a toothpick, place in the center of the spiral, and drag outward to the edge of the cookie -- repeating this step as if you're slicing a pizza -- to make "lines" in the web. Wipe off the toothpick between lines, and as soon as one cookie pop is done, start the next one. Try to work quickly and if the candy coating starts to thicken, zap it in the microwave for a few seconds and stir until once again smooth.
- For the ghost pops, melt the remaining chocolate candy coating in one bowl and the smaller amount of remaining white candy coating in another bowl. Coat a cookie pop with the melted chocolate coating, set it on a lined cookie sheet, and use a small spoon to immediately place a blob of white coating slightly off-center on the top of the cookie. Use a toothpick (or a slightly larger pointy object) to drag the white chocolate downward to create a ghost tail and upward on each side (if desired) to create raised arms. As soon as one cookie pop is finished, start on the next one. Allow the cookie pops to set.
- Once the ghosts are completely dry, reheat a bit of the leftover chocolate coating, transfer to a small bag, cut a tiny hole in the corner of the bag, and pipe two eyes and a mouth on each ghost.
- Additional cookie pops may be dipped and immediately sprinkled with Halloween sprinkles, if desired.

