Oats & Honey Granola Bars
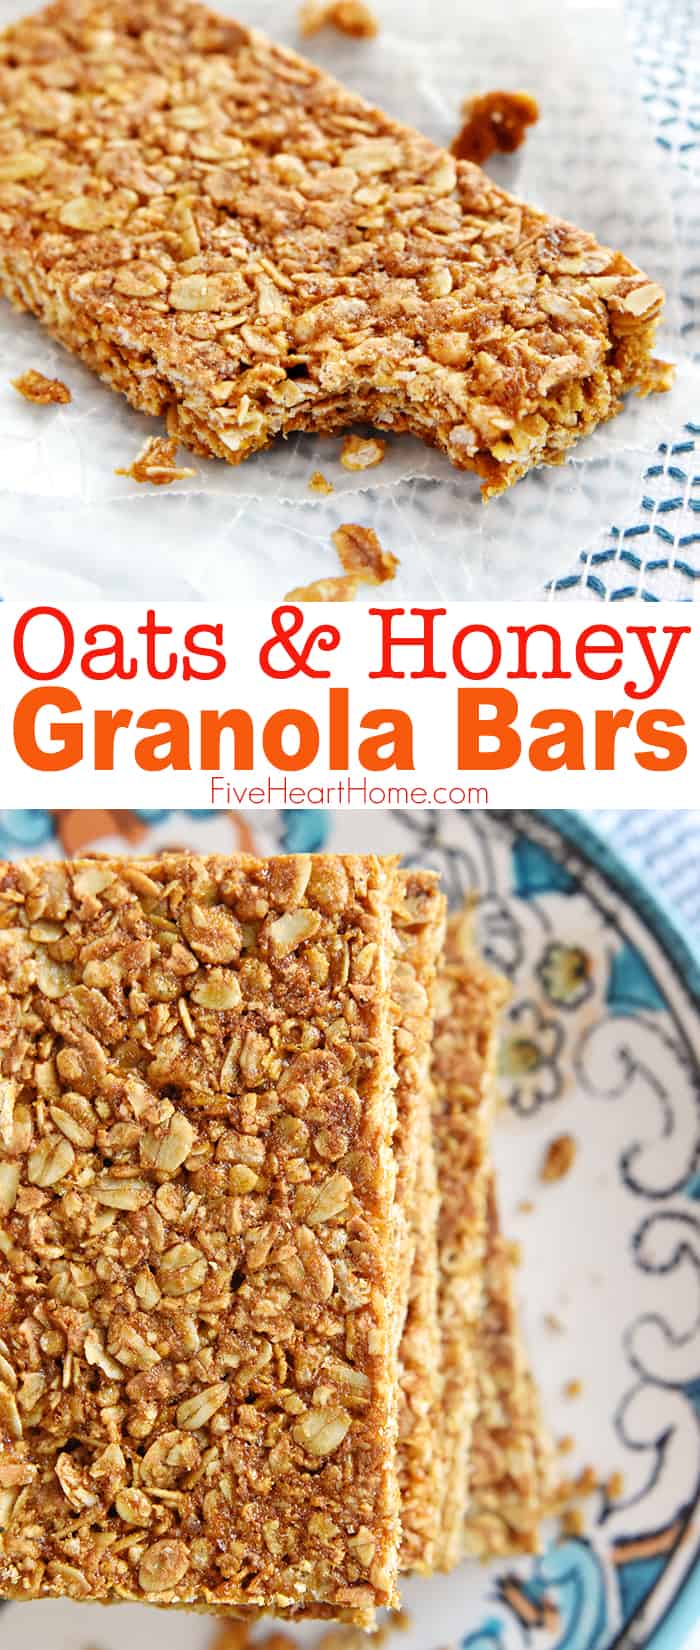
Oats and Honey Granola Bars are homemade, all-natural, and baked until slightly crunchy, making them perfect for breakfast on-the-go or as a wholesome, portable snack!

WANT TO SAVE THIS RECIPE?
I'm so excited to share this recipe with y'all today! Awhile back, I posted my beloved No-Bake Chewy Granola Bars, which my family adores and which went on to become a reader favorite. After all, they're easy to make, customizable, and downright delicious. The only downside to that recipe, however, is that they get pretty soft if they're not kept chilled. This makes them great for eating straight out of the fridge but not-so-great for throwing in your purse or diaper bag as a convenient snack.

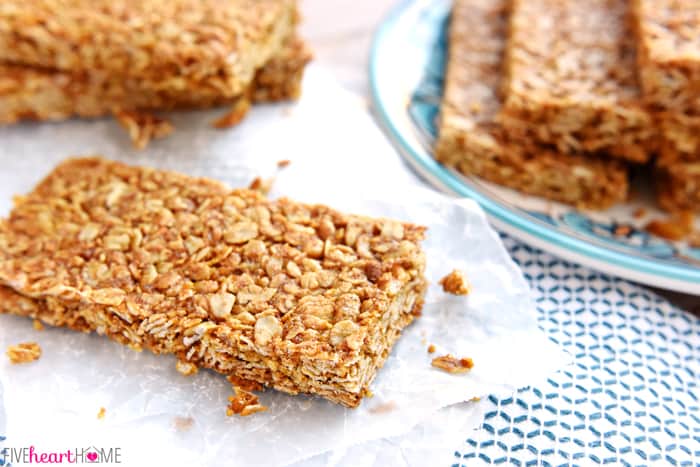
The Oats & Honey Granola Bars that I'm sharing today, though, don't need to be refrigerated. More along the lines of crunchy Nature's Valley-type granola bars, these baked treats not only travel beautifully, but they're loaded with oats and pure honey goodness!

These snacks are not soft and chewy, but they're not rock-hard crunchy either. Rather, I would consider them to be firm and moderately crunchy. Don't mistake that for crumbly, though...I've actually been extremely pleased with how well they hold together, even in the backpacks of my rough-and-tumble kids. They take them to school for snacks and request them for breakfast on busy mornings. I may enjoy one here or there as well... 😉
Granola Bar Ingredients
So what goes into these wholesome, homemade granola bars that actually travel well and hold together at room temperature?
- Rolled oats. The star ingredient.
- Crispy rice cereal. It doesn't take much, but this ingredient prevents the bars from becoming too packed down...AKA, rock-hard.
- Oat flour. By using oat flour, this recipe can be made GLUTEN-FREE (assuming that the oats you use throughout the recipe are all gluten-free). That being said, you may opt to use whole wheat pastry flour in place of oat flour.
- Brown sugar. But just a tad!
- Baking soda. For the slightest rise.
- Salt. To balance the sweet.
- Honey. This helps hold the bars together and acts as the primary sweetener in the recipe.
- Coconut oil. You may substitute another neutral flavored vegetable oil (such as sunflower oil) if you wish.
- Pure vanilla extract. Because...flavor.

How to Make Granola Bars...a Tip!
In addition to an optimal combo of ingredients, I think the key to this recipe is packing down the oat mixture in the pan after you've thoroughly incorporated all of the ingredients. And I mean you really need to pack it down.
Rather than using a Pyrex 9- by 13-inch baking dish (which would work just fine, mind you), I decided to make these granola bars in my metal baking pan with perfectly square corners. Consequently, I searched my cabinets and found a mini bread pan that also boasts perfectly square corners. I then used it to press down the granola bar mixture as firmly as possible.

I did this before baking and again immediately after baking and, as a result, I ended up with firm, crunchy-ish, non-crumbly granola bars. Success!

So if you love granola bars but don't care for the artificial additives in store-bought ones...or if you splurge on all-natural/organic granola bars but could do without the high price tag...or if you're looking for a wholesome, homemade, portable breakfast or snack...these Oats & Honey Granola Bars are for you! I'm happy to have a crunchy version to alternate with my aforementioned favorite chewy recipe, and I hope that you have a chance to try them (and love them!) both. 🙂
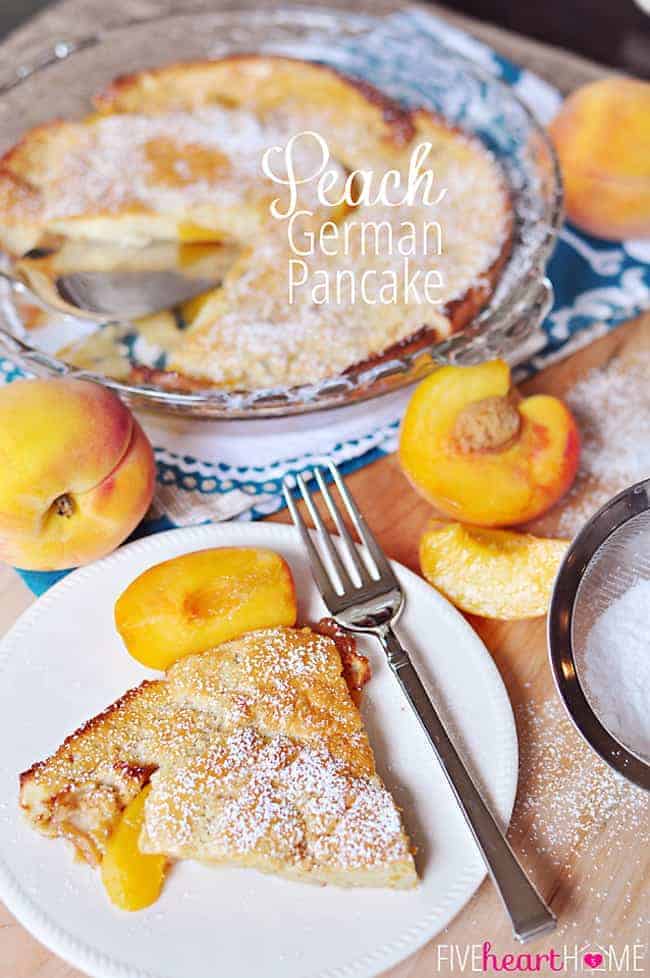
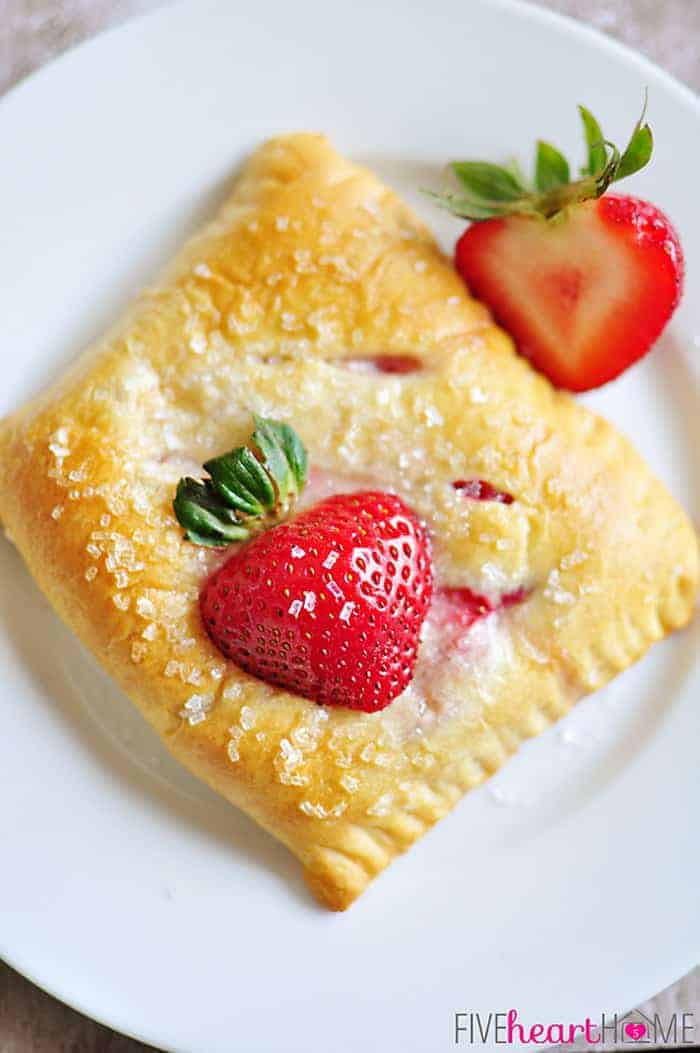
More Easy Breakfast Recipes
- Homemade Whole Wheat Pancake Mix
- Wholesome Breakfast Cookies
- Classic Homemade Granola
- Green Chile Cheddar Egg Bake
- 5-Ingredient Peanut Butter Granola
- Healthy Oat Smoothies ~ Blueberry Muffin & Peach Cobbler Flavors
- Crunchy Slow Cooker Granola
- Peanut Butter Overnight Oats

Oats & Honey Granola Bars
Ingredients
- 3 ¼ cups old-fashioned rolled oats
- ¾ cups crispy rice cereal
- ⅔ cups oat flour (see Notes below), OR whole wheat pastry flour
- 3 tablespoons brown sugar
- ¾ teaspoon baking soda
- ¾ teaspoon salt
- ⅔ cup honey
- ⅓ cup coconut oil, melted
- 2 teaspoons pure vanilla extract
Instructions
- Preheat oven to 350°F. Line a 9- by 13-inch baking pan with parchment paper.
- In a large bowl, stir together oats, crispy rice cereal, oat flour, brown sugar, baking soda, and salt. Measure honey, melted coconut oil, and vanilla into a measuring cup, then drizzle over oat mixture and stir until all ingredients are completely combined.
- Transfer oat mixture into prepared pan and press down very firmly into an even layer. Bake for 20 to 25 minutes or until light golden brown on top. Remove from oven and use the flat bottom of a small pan or dish to press down granola bars again. Cool in pan for 15 minutes, and then use parchment paper sling to carefully lift granola bars out onto a cutting board (you can leave them sitting on top of the parchment paper). Cool for 5 more minutes and then cut into 12 bars. Remove to a cooling rack to finish cooling completely. Store in an airtight container.
Equipment Needed
Video
Notes
- To make oat flour, use a blender or mini food processor to grind ¾ to 1 cup oats into a fine powder. Measure out ⅔ cup of oat flour for the granola bar recipe after grinding. If you have leftover oat flour after measuring, you can always save it for a Blueberry Muffin Healthy Oat Smoothie. 🙂
- To save a dirty dish, I melt the coconut oil in a measuring cup in the microwave and then measure the honey and vanilla on top. The coconut oil helps the honey slide out of the measuring cup.
- Baking these slightly longer will make them slightly crunchier, but be careful not to burn them! My granola bars were perfect at 22 minutes.
Nutrition
Adapted from Chocolate Covered Katie. Post originally published on January 22, 2015, and updated on August 30, 2019.
These granola bars are yummy! I made them because my husband is diabetic and thought they would be good for him. The reason I didn't give them 5 stars is because I looked at the calories, sodium, sugar, etc. content and not much better than store bought ones.
Hello,
We love the peanut butter version of these crunchy granola bars. Would you have any suggestions on the ingreds for this???
Thank you.
Hi Marlene! I'm afraid I'd have to recipe test to figure out the peanut butter version of these crunchy granola bars. I think just adding PB to the recipe as-is might affect the texture and make them chewier than they are crunchy. But if you decide to give it a try, please come back and let us know how they turn out! 🙂
Love the measuring cup/oil/honey tip.
I'm currently spending $13+ for a box of Nature Valley Honey-n-Oat granola bars (48 scrawny, anorexic bars) . . . and eat a lot of 'em. Love 'em.
Ready to try this little gem-of-a-recipe . . . and load 'em up with nuts and dried fruit . . . for less $$.
Ty! so much for sharing this recipe!!!! I've stopped buying granola bars because of all the sugar and oil they use. My sister sent this recipe to me and I'm happy to report that they turned out fabulously!!!! I didn't have a small bread pan to press them down so I used a full salt canister to press down! I saw my grandmother do this when I was a little girl and when I ask her why ? she told me salt is very heavy and will press down just about anything! I wish I could give this more than 5 stars its a 10 for me!😉
This recipe has become a firm favourite, my children love having a Granola bar in their school lunch box.
Recipe is great, but these didn’t hold for me. More like granola, still good but I wanted a bar so badly!
Sorry to hear that these didn't stick together for you, Becca! You have to press the mixture into the pan *really* firmly...that's why I use another pan to push it down as shown in the post. I'm glad you enjoyed the flavor, though. 🙂